Why Custom Jewelry Today Starts with a 3D Model
Jewelry creation has always required a high degree of precision. In custom jewelry, even a fraction of a millimeter's error can affect the proportions, fit, and visual appeal of the piece. This is why 3D modeling has become the standard for custom jewelry.A digital 3D model of the future jewelry allows for the shape, relief, and symbolism to be worked out in advance. The client sees how the custom jewelry will look before production begins, and the craftsman gains complete control over the geometry and details. This is especially important when creating complex pieces with deep relief and fine details.
In practice, this approach alleviates clients' main fear—the uncertainty of the outcome. Jewelry ceases to be an experiment and becomes a predictable technological process, where each stage can be tested and adjusted if necessary.
Step 1. Creating a digital 3D model of the jewelry
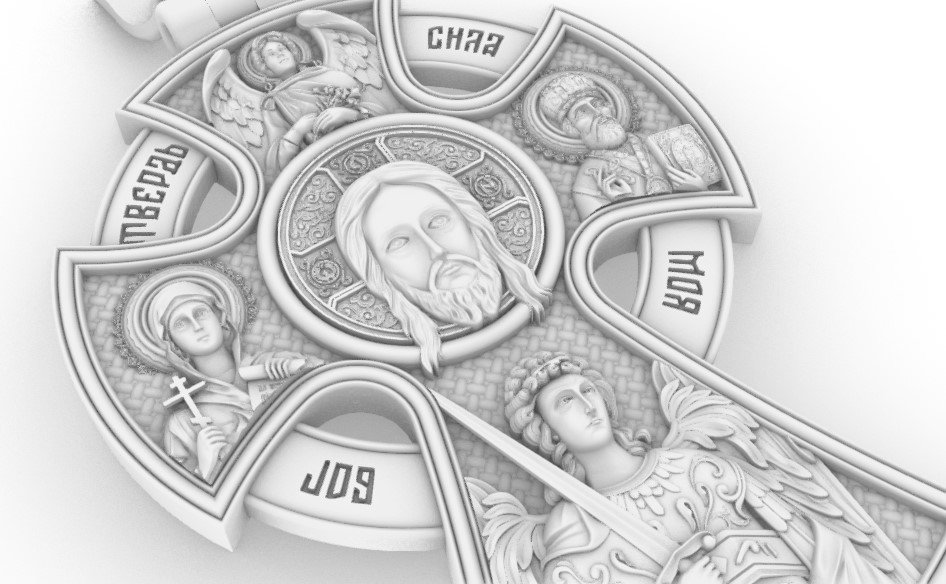
The creation of a piece of jewelry begins with the design of a 3D model. At this stage, the idea is translated into precise digital form, taking into account the dimensions, proportions, and future material.In 3D jewelry modeling, special attention is paid to detail. Reliefs, symbols, and small elements define the character of the piece, but are also the most complex to produce. Therefore, the model is created not as a decorative rendering, but as a technical object intended for 3D printing and subsequent casting.
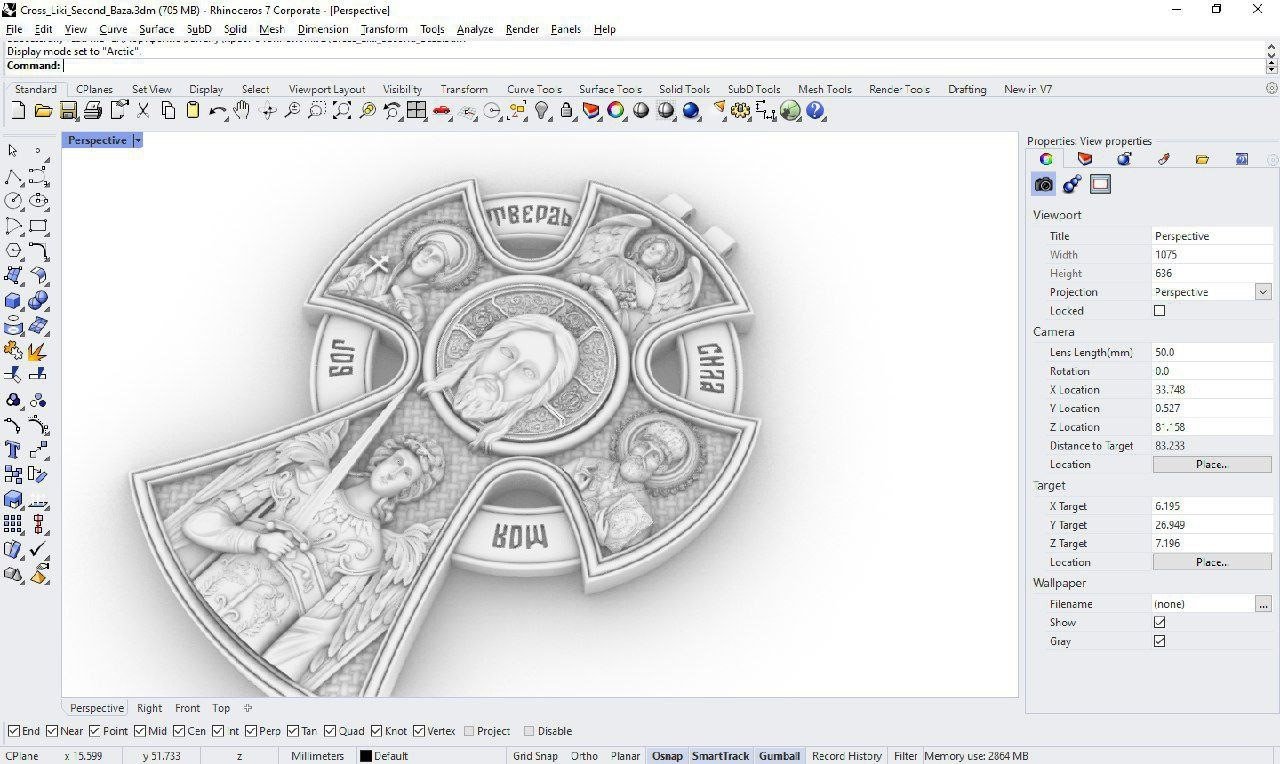
In practice, it is at this stage that the quality of the future jewelry is determined. If the digital model is created correctly, the piece will be accurately reproduced in metal without loss of shape or detail.
Stage 2. Preparing the 3D model for printing and jewelry production
Once the digital model is created, its technical preparation begins. The integrity of the geometry, the accuracy of the thicknesses, the relief depth, and the scale are verified.This stage is especially important in the process of creating custom jewelry. Elements that are too thin may not withstand casting, while excessive thickness adds weight and distorts the piece's appearance. Therefore, the 3D model must be adapted to the actual conditions of jewelry production.
This is where it becomes clear why it's important to understand the basic principles of 3D modeling and preparing models for printing. Errors that aren't visible on the screen become permanent defects in the metal, which are impossible to fix.
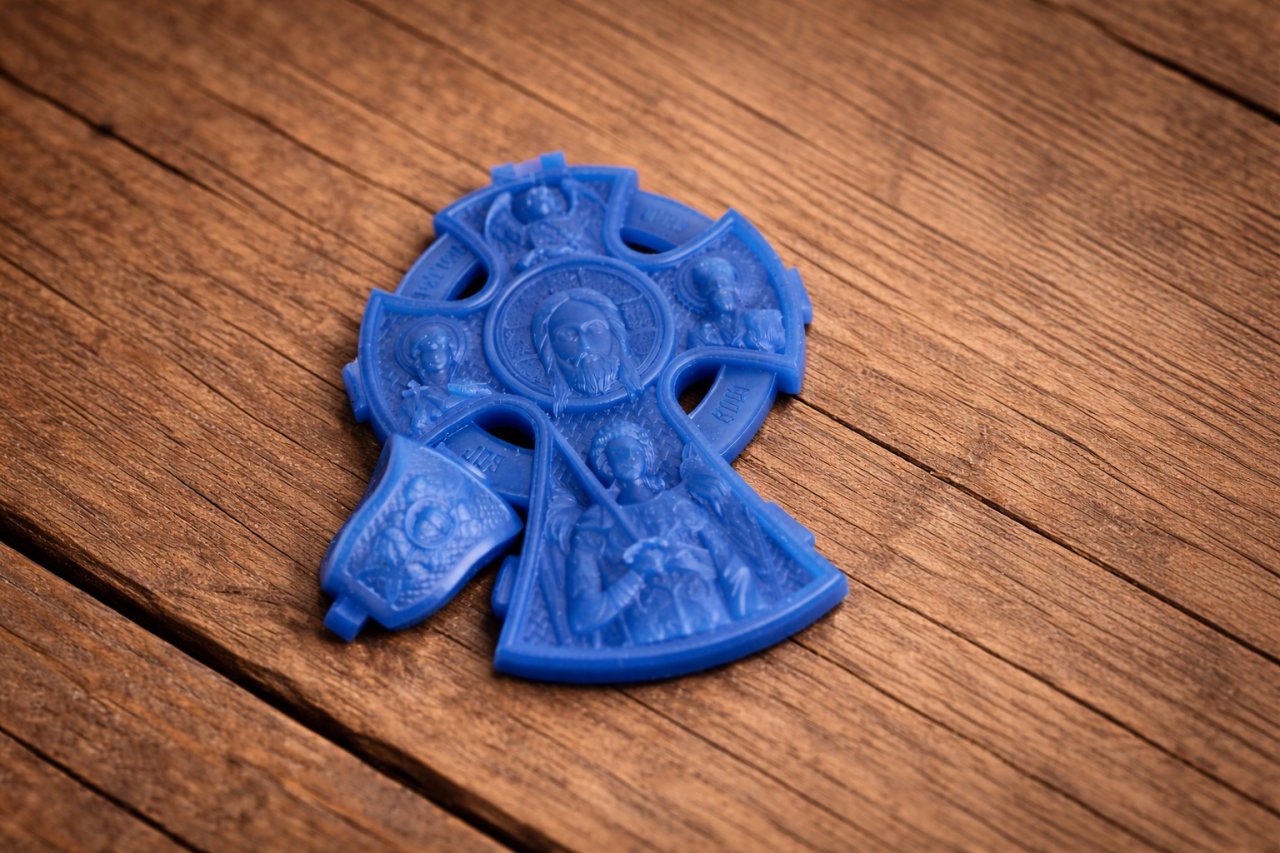
Stage 3. Wax model: the first physical prototype of the jewelry
Once prepared, the 3D model is printed in wax. The wax model of the jewelry piece serves as the first physical prototype of the future piece.At this stage, the actual scale, the legibility of the relief, and the overall appearance of the piece are assessed. Wax allows us to understand how the jewelry will feel in the hand and how harmonious the details appear at actual size.
In practice, it's at the wax model stage that the final nuances, impossible to detect digitally, are often revealed. Corrections at this stage help avoid casting errors and maintain the accuracy of the final product.
Step 4. Casting: turning wax into metal
Next, the classic lost-wax casting technique is applied. The wax mold is replaced with metal, precisely replicating the geometry of the digital 3D model.The quality of casting directly depends on the quality of 3D modeling. If the model is prepared correctly, the metal will render even the smallest relief elements without distortion or loss of detail. This is especially important for complex jewelry pieces with symbolism and deep relief.
In practice, this stage shows that 3D modeling does not replace manual work, but rather enhances the craft of jewelry making, making the result predictable.
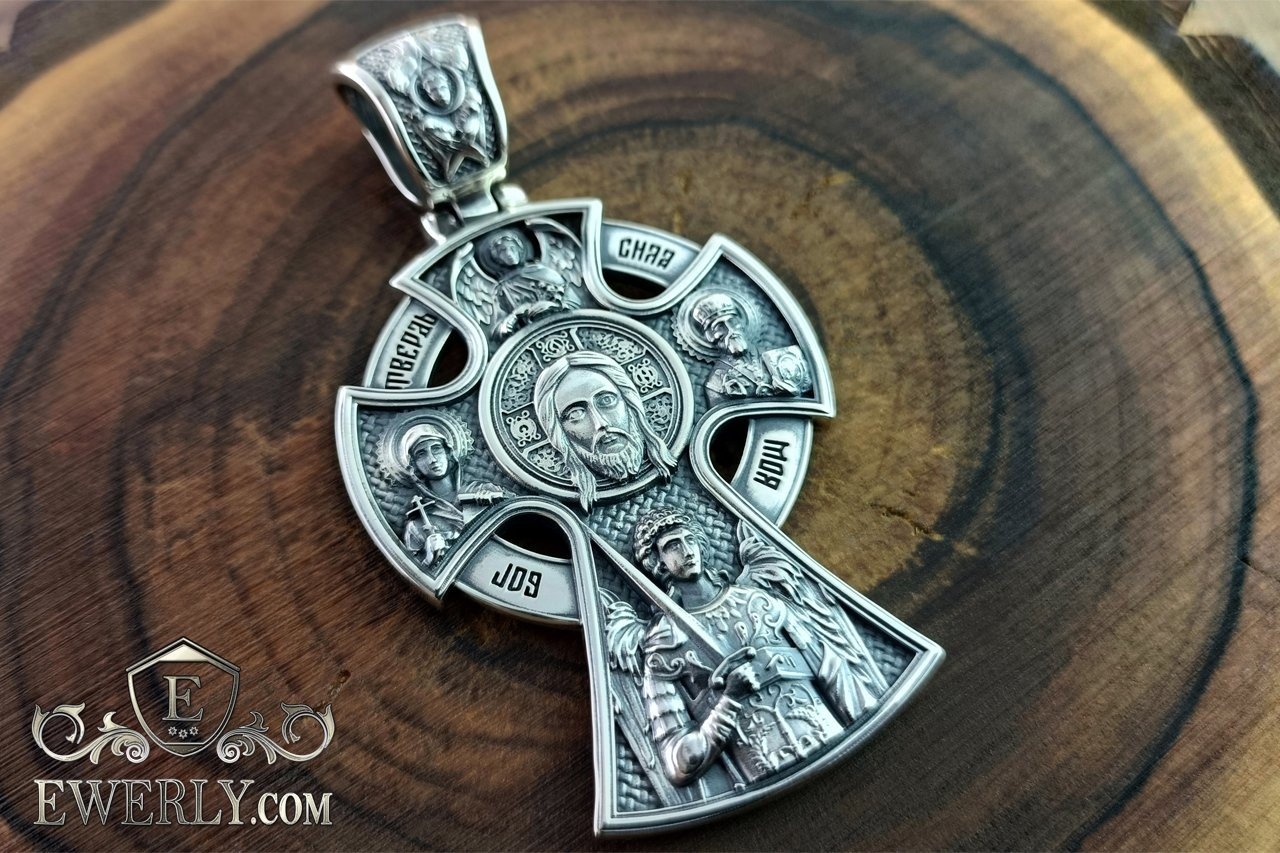
Stage 5. Final processing and finished jewelry
After casting, the product undergoes final manual processing: traces of sprues are removed, grinding and polishing are performed, and relief details are emphasized.When the process is properly designed, the final processing doesn't correct errors, but merely completes the shape. This is the key indicator of a high-quality 3D approach—when the finished jewelry accurately replicates the digital model.
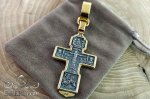
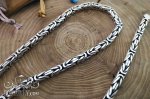
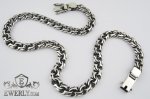
This is how complex custom jewelry pieces are created, for example A large men's silver cross with holy images , where every detail was pre-designed in 3D and precisely transferred to metal.
Why 3D modeling has become the standard in jewelry
Using 3D modeling in jewelry creation makes the process transparent and manageable. The client understands in advance what the piece will look like, and the craftsman gains precise control.Furthermore, the 3D approach allows for the creation of complex shapes and reliefs that are virtually impossible to reproduce manually with the same precision. This is why today, most highly detailed custom jewelry is created using digital modeling.
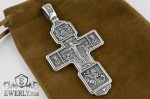
A wide selection of similar products can be seen in a catalog of silver crosses , where each model begins with precise 3D elaboration.
Bottom Line: How to Create Jewelry Without Uncertainty
3D modeling has transformed the process of creating bespoke jewelry from a risky experiment into a clear and manageable system. The idea moves from a digital 3D model through wax to metal, preserving its shape and detail at every stage.That's why today's high-end jewelry begins not with casting, but with precision 3D design—where technology and craftsmanship work together to create the perfect result.
Frequently Asked Questions
- Is it possible to change the design after the 3D model has been created?
- Yes. At the digital 3D model stage, changes can be made quickly and without additional material costs.
- Why do you need a wax model of jewelry?
- A wax model allows you to check the scale, depth of relief, and overall perception of the decoration before casting it in metal.
- How accurately does the finished piece of jewelry replicate the 3D model?
- With correct modeling and casting, the match between shape and parts reaches almost 100%.
- What types of jewelry are made using 3D modeling?
- Most often for custom-made jewelry, complex shapes, crosses, pendants, and jewelry with detailed symbolism.